The Revell Fokker Dr 1 – 1:28 scale – log #9
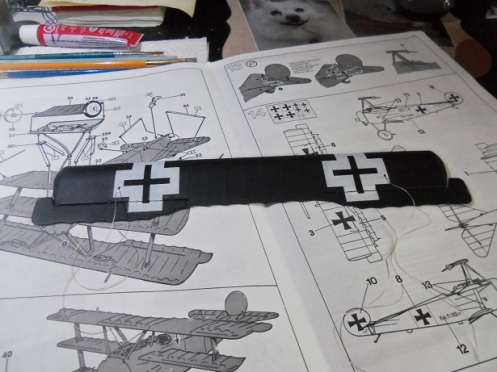
Continuing on from the last session, before the top wing can be assembled, the control cables need to be cemented to the inside surface of the upper half. The control levers were painted with flat steel and set aside to dry. Since I am using decals from the Roden kit, I will need to cut the decals for the top wing, so they will fit on the wing and the ailerons. The decals that came with the kit have these two decals already separated, but I can’t use them since on Jacob’s plane, the insignias are different. Older model decals were thicker…..I’m fairly used to them……easy to cut or make alterations to them. More modern decals in today’s kits are a lot thinner……allows them to look more authentic and realistic. To cut them proved to be a bit daunting because of the thickness aspect; it made them prone to ripping and tearing……even with a new {sharp} blade. There are a couple of imperfections, but I will touch them up with paint, which will make them look better. The control cabling was cemented on the inner surface, and then thee decals were added.
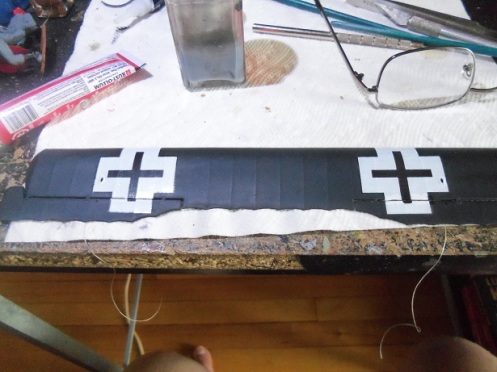
From here, the control cables were threaded through the access holes. Just for giggles, I put the bottom half on the model…….just to see what the spacing looked like. The interplane struts are not cemented in place……says a lot about the fit of these parts.
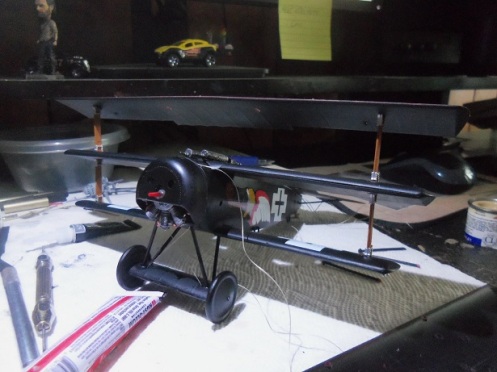
The top wing was assembled at this point……
The interplane struts were cemented to the middle wing……..
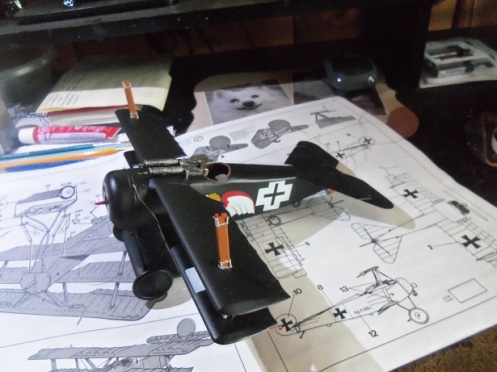
…….and the control levers were trimmed and cleaned up for painting.
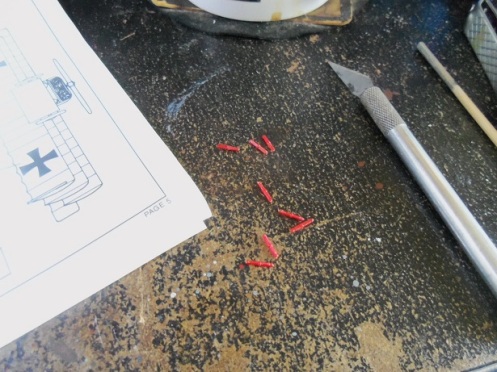
There are a few more than are needed……I guess…..in the event that some get damaged for some reason. More to come……….
