The Revell Fokker Dr 1 – 1:28 scale – log #10
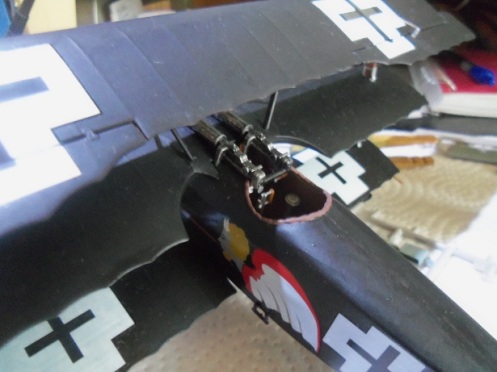
I gave the control cable levers a few days to dry. Metallic enamel paints do not cure like other paints of this type does. They can remain tacky if used too soon…..one reason why I avoid painting planes in these colors. I always seem to get annoying fingerprints and weird marks. The levers were cemented in place, in the ailerons of the top wing.
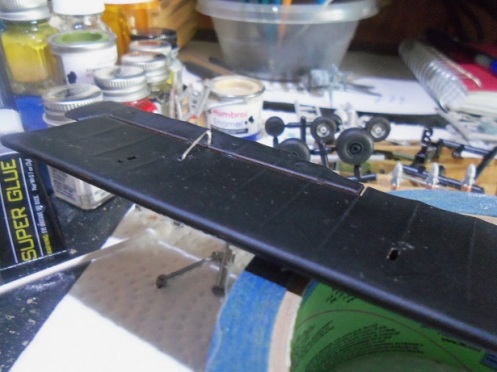
The cables were then cemented to the levers and trimmed off.
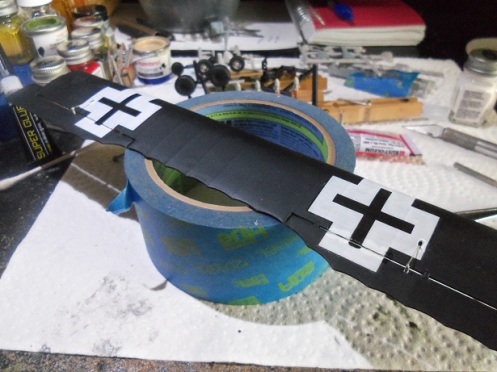
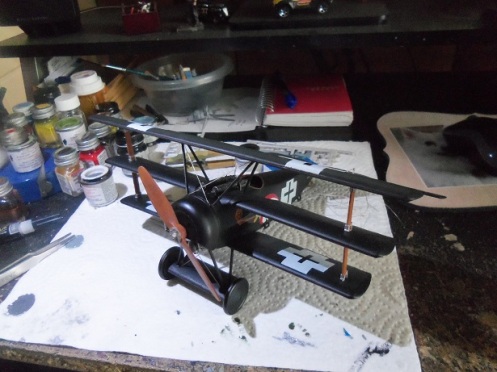
Once done, the wing was then cemented in place on the model. Masking tape was used to align it. I gave it a good amount of time to set, before the cabane struts were added.
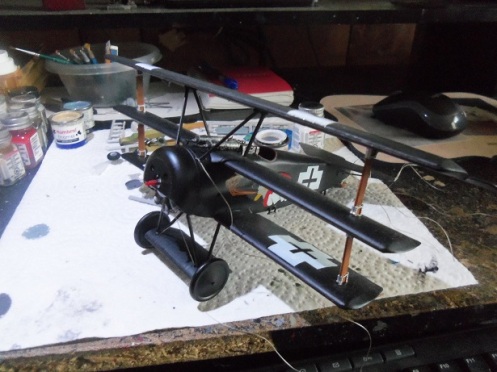
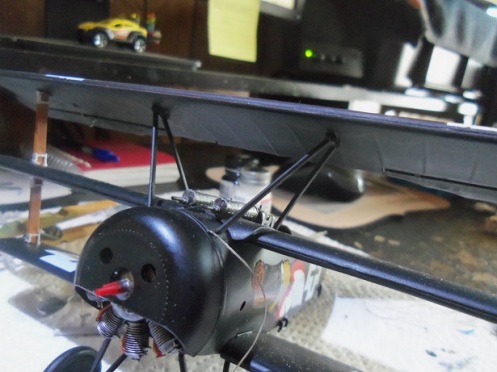
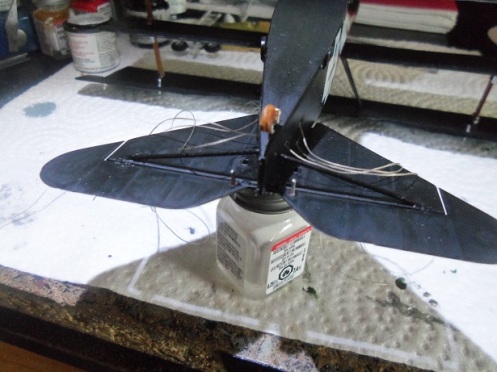
This really changed the looks of the model. It was given more time to dry, and when it was ready, it was set upside down, to rig the cables to the underside of the top wing.
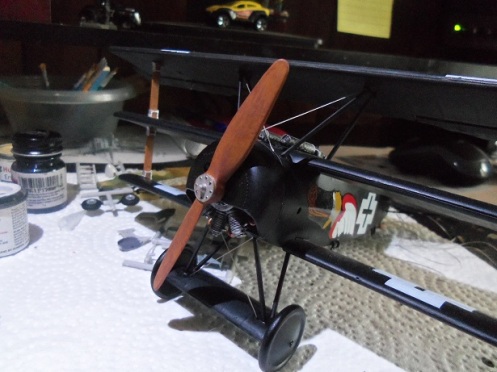
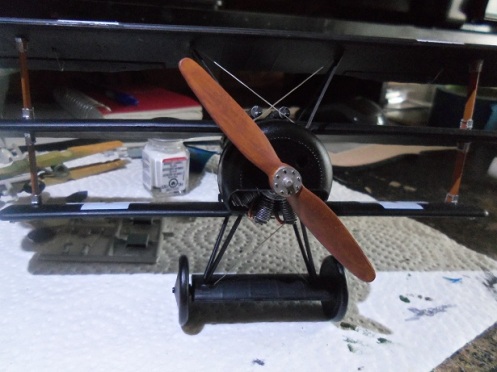
The detail painting on the prop was finished at this time.
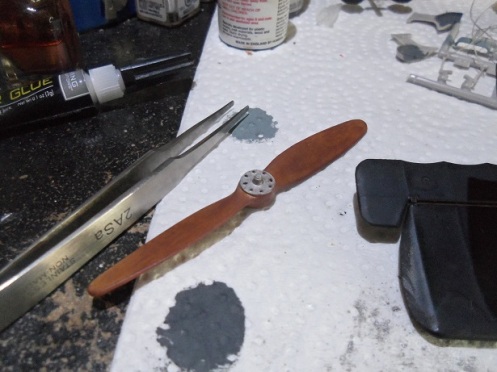
The prop was then cemented on the shaft, which is keyed, acting as a guide. I don’t know why, but it fit on quite well…..as with the actual aircraft, the engine rotates along with the prop. I moved it so show that it is able to move freely.
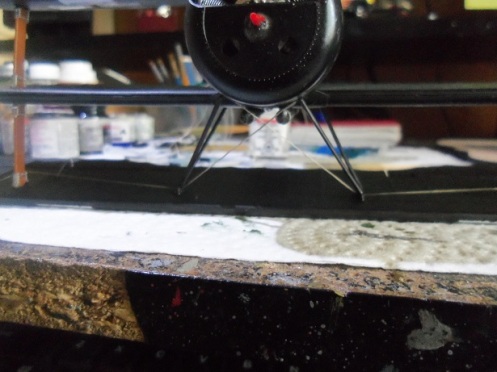
….a picture of the state of the model, as it is now…….
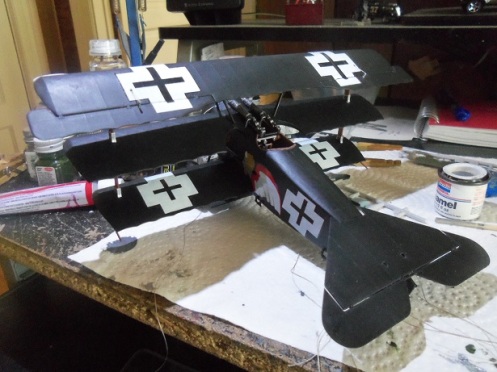
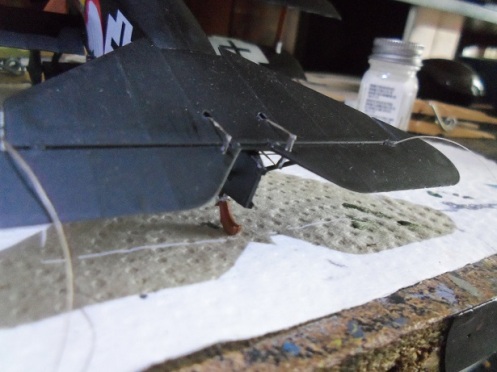
The stabilizer elevators were rigged next. The control levers were cemented in place and allowed time to dry before the cables were added.
The only part left to add is the rudder. I still need to paint it……..and for that, I will use the airbrush. It’s very hard to use a brush to paint white……I hate it. It leaves too many stroke lines and the ghosting is terrible….especially in this case, where the rudder is red plastic. More soon!
